
For all of you DIYers out there, making things like snow globes is a great way to relax and de-stress after a long day. Especially during the holidays, arts and crafts are a widely preferred bonding activity within families or bigger communities. The image of kids laughing and having fun while being creative can warm up even the coldest holiday season.
For many people, a snow globe is just a pretty ornament you put on a shelf. Sure, you glance at it from time to time, but for the vast majority of folks out there, a snow globe is something that just sits pretty somewhere around the house.
When it comes to a doing it yourself though, a snow globe can be a true challenge. It takes a lot of time to make, a lot of small and specific decorations and it’s just a hassle in general. However, you’d be surprised to find out, one of the biggest issues with making a snow globe is supplying yourself with the proper materials.
Usually, to craft a snow globe, you would need a chemical called glycerin. It is a transparent dense liquid that goes into your snow globe and creates the fascinating effect of falling snow within the small glass ball.
Unfortunately, glycerin is tough to find in many areas. Typically sold in pharmacies, many DIYers report that it’s almost always out of stock. That’s why in this article we are going to go over some of the best substitutes for glycerin and a step-by-step guide on how to make the perfect homemade snow globe without glycerin.
How To Make A Snow Globe Without Glycerin: The Ultimate Guide
Snow globes have fascinated both kids and adults for almost a century now. These small worlds in a jar can make up some of the best holiday decorations and aren’t that difficult to make. If you’re ready to make your own homemade snow globe, keep reading.
Supplies you’ll need
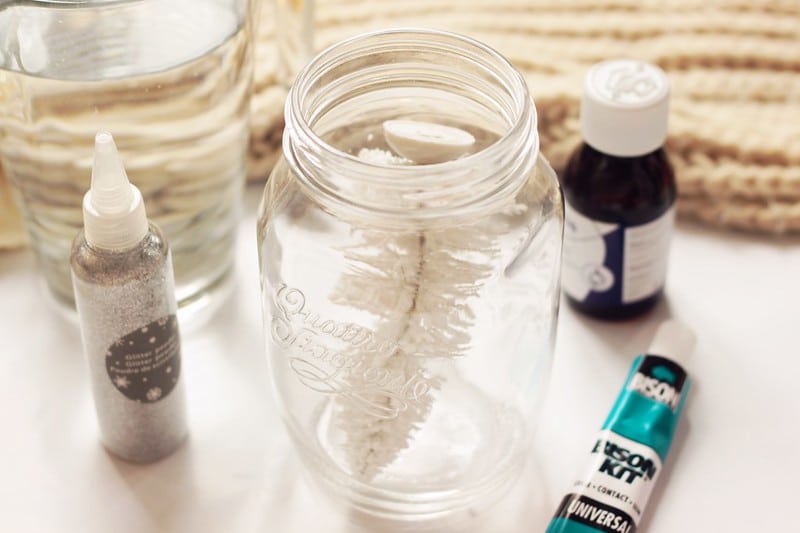
Fortunately, a homemade snow globe is a pretty inexpensive project making it accessible for all of you out there who might want to try it. Some of the supplies you might already have on hand but everything you’ll need can be found in dollar stores or craft markets. Here is a list of the things you’ll need:
- Glue Gun
- Clear mason Jar
- Faux Snow
- Mini Trees, Mini sleds (Anything you can put inside your snow globe)
- Bottled water (you can opt for a waterless snow globe as well)
- Light Corn Syrup / Glue / Baby Oil (to substitute the glycerin)
- Glitter (Optional)
Substitutes for Glycerin
The role that glycerin plays in a snow globe is to make the liquid inside of it thicker so the faux snow and glitter float around the glass globe. However, if you are struggling to find glycerin, you could always find a substitute.
The best substitutes for glycerin are baby oil, light corn syrup, or simple glue. Keep in mind that if you’re using glue, you should dilute it in water whereas you keep the ratio 1:3 with one part glue and three parts water.
Planning Out Your Homemade Snow Globe
Before you unleash all of your creative force, there is one last thing you should do and that is plan out your homemade snow globe. Do you want it to have glitter? Are you going to use baby oil or are you opting for a waterless globe? There are some things to consider and for your convenience, we are going to plan out a homemade snow globe without glycerin in three simple steps.
Step 1 – Pick a theme
The theme of your snow globe depends on its purpose. Is it going to be a Christmas decoration? Are you making it for a gift? Are you making it just to have fun? The theme is important for getting your supplies later. If you are going for a Christmas-themed snow globe, you could use a small pine tree for the interior of the globe and if you want it to be a bit more personalized you could use a small, laminated picture.
Also, make sure that any other decorations you intend to use for achieving your desired look are waterproof and fit on the jar lid. Ceramic or plastic figurines are your best options. Alternatively, you can make your own themed figures using clay.
Step 2 – Find the right jar
The jar is arguably the most important piece of your homemade snow globe. Any size can work – from a baby food can to a spaghetti sauce jar to an even bigger mason jar. The important thing here is to find a jar with a clear enough surface so you can actually see the inside of your masterpiece. You also need a jar that can be sealed tightly to avoid any leakages. If you’re unsure of your jar’s reliability you can always cover the lid with some hot glue to make it even more secure.
When picking out a jar it would also be a good idea to pick out a jar with a smooth surface. No bumpy details and decorations. When you get your jar home you can wash it, remove any stickers or labels, and then you’ll be ready to craft your own homemade snow globe.
Step 3 – Gather your supplies

Now that you have selected a theme, you have picked out a jar, it’s time to gather the rest of your supplies. You can consult with the list we have provided in the first point of the point in this guide. So get your glue ready, sprinkle the glitter, and prepare for the beautiful assembly of your skills and materials.
Putting Your Homemade Snow Globe Together
Now that we have finished all the planning, it’s time to dive into the more exciting part of this DIY project – the crafting of your homemade snow globe. Put some comfy clothes on, pour everyone a cup of tea and immerse yourself in the fun that comes with using your hands for art. This part of the project has steps like the previous one so keep reading to find out how to craft the perfect homemade snow globe without glycerin.
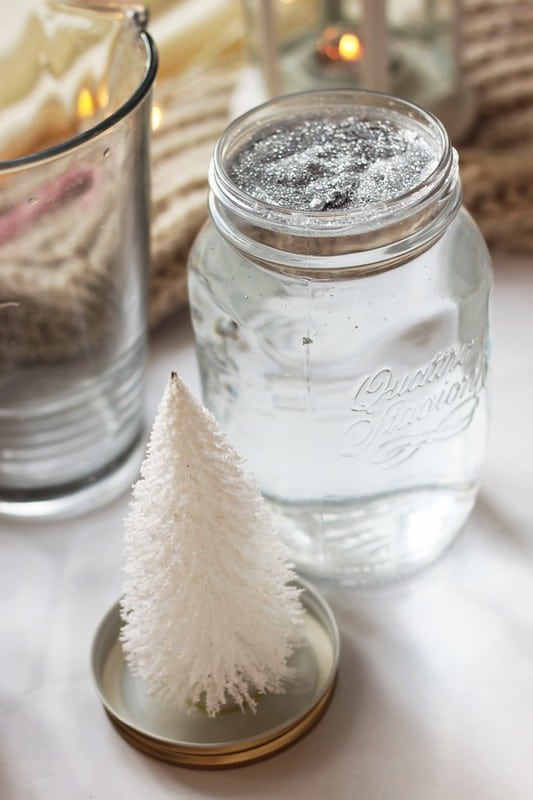
Step 1 – Position Your Figurines

The first thing we’re going to do is remove the lid from your jar and figure out where exactly you want to put your figurines. You can try different poses and configurations until you find the one that satisfies you. In most cases, what you decide is going to be final, so think hard and deep before you make a decision.
Once you have to find the perfect scenario for your figurines, glue them down to the lid by applying a little bit of adhesive to the bottom of the figurine and then pressing it down flat on the lid for a few seconds. After that, you should let it dry for no less than 24 hours.
We know it’s a long time and you can’t wait to be finished but this part of the process is crucial for successfully finishing your homemade snow globe. Leave the figurines to dry in a place they wouldn’t be disturbed.
Step 2 – Fill The Jar
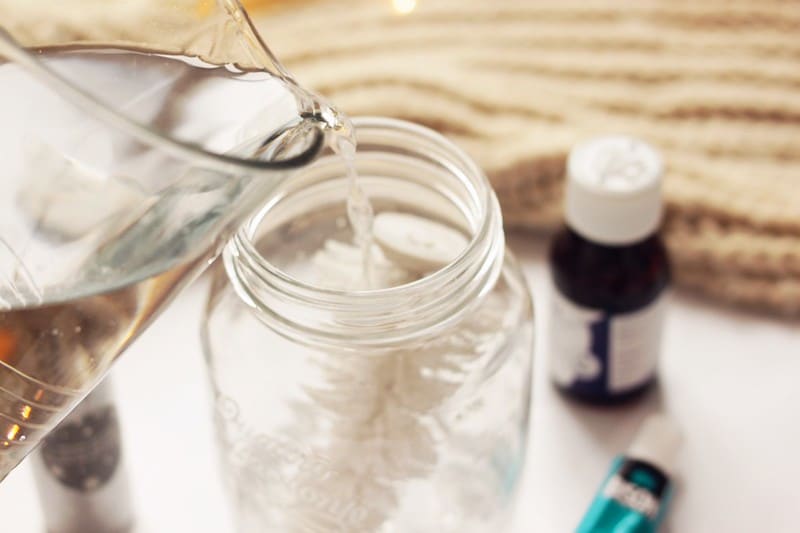
If you prefer a waterless snow globe you can skip this step altogether. However, for those of you who want to see the swirling faux snow in the end, listen up. Fill your jar with distilled or bottled water and leave some space for anything else you might want to add like baby oil, glitter, or fake snowflakes. Let it sit for some time before proceeding with the next step. Check if your figurines stay firm underwater and test the lid for leaks. If everything is fine, move on to the next step.
Step 3 – Add The Baby Oil
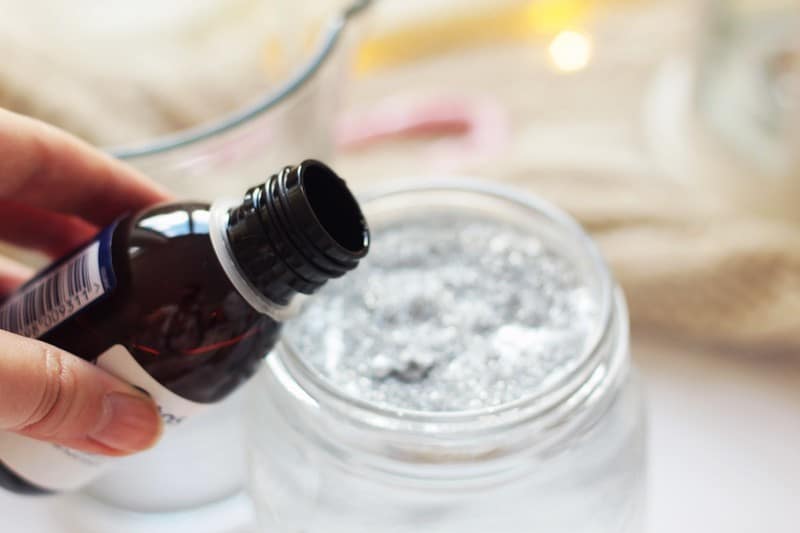
As we already mentioned, glycerin is used in snow globes to make the liquid inside of them denser and create the swirling snow effect we all love to see inside those glass balls. However, you can always use a substitute. Whether it’s baby oil, light corn syrup, or glue, now’s the time to add it. Slowly pour your preferred substance into the water while carefully stirring. You should reach the top of the jar.
Step 4 – Make It Sparkle

You have all waited for this moment. You can now add glitter, fake snow, or whatever other sparkly substance you like. Go crazy. Make this homemade snow globe the best snow globe you have ever seen.
Step 5 – Seal The Lid
Once you’re happy with the way everything looks, place the lid on top of the jar and seal it tightly. If you have added too much water, it will leak out a little but that’s fine. Turn it over and check if there are any more leaks.
If you want to take it one step further, you can coat the lid with glue just to be sure everything is secure. After you have performed all the checks and you’re certain that everything will stay in place, you can pat yourself on the back. You did it!
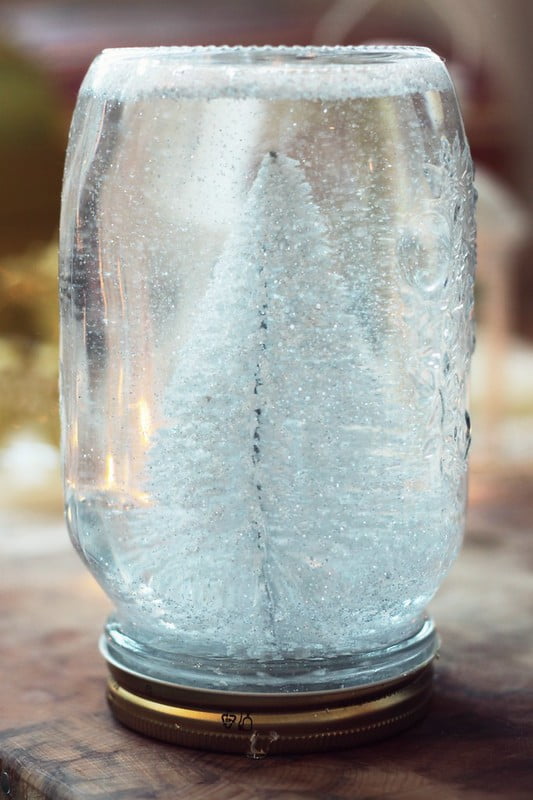
Step 6 – Shake it up
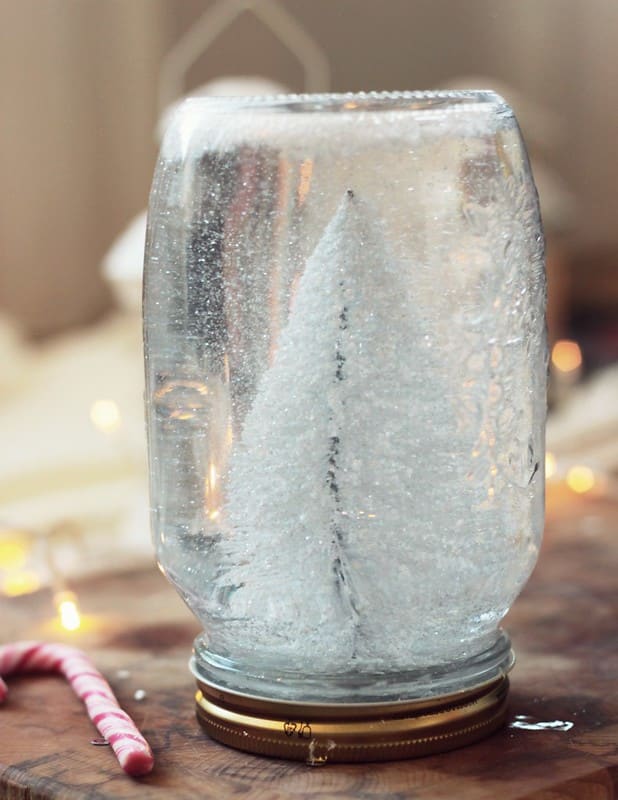
After you’re done with all of these steps, you should be left with a pretty homemade snow globe made with a lot of love and attention to detail. With that being said, give your masterpiece a shake-up and admire all the hard work you did paying off.
And, there you go! You have a cute little snow globe in a jar that you’ve just made yourself.
FAQ’s and Tips
Some of our practical advice for your homemade snow globe:
- Make sure that the chosen figurine or other decoration fits well in the jar and that the lid is tightly sealed so it does not leak when the jar is filled with water.
- Check that the scenery and the decoration don’t rub off the water. Also do the test with glycerin.
- Let the decoration that is attached to the glue dry before immersing them in the water mixture inside the jar.
- To prevent any leakage, place a silicone seal cord inside the lid before screwing it on.
Ideas for Miniature figurines and decorations
- Small children’s toys: farm animals, mini cars, cartoon characters…figure, toys and small homemade objects made of Fimo dough or plasticine.
- Pastry decorations: Christmas log decorations (reindeer, fir tree, Santa Claus). Themed kits are sold in some supermarkets in the “culinary aids” department.
- Use some fancy ornaments: ribbons, decoration tape, natural or plastic raffia ribbons to decorate the outside of the jar.
- Bright spray paint to color the lid. You can also hide the outside of the lid by covering it with a square of fabric held by an elastic band.
- if your jar lid isn’t that pretty you can paint it in a color of your choice before attaching the small figurine or other decoration.
Another good idea: if you want to give a very personal snow globe for Christmas to someone, you can also stick a photo on the lid instead of or behind the figurine(or skip it entirely). For this to be successful, the photo should be printed on real photo paper. Normal copy paper is too thin, and the image will not last long in the globe sitting in the water. An additional piece of cardboard placed under it can help make the photo more stable.
You can also protect the photo from the water by laminating it with a protective film. If you don’t have a laminator at home, you can have the photo laminated in a stationery store. That way, the gift will bring joy for a much longer time after Christmas.
Wrapping Up!
You can decide to make your own Christmas figurine out of Fimo paste (a type of polymer clay), use a commercial plastic figurine or take advantage of what is around you.
And do not hesitate to spice up your homemade snow globe by painting the lid of the jar or by adding a little masking tape. If you need to decorate your figures, use water-resistant paint or, why not, even a nail polish!
In conclusion, making your own homemade snow globe can be a fun and rewarding project, especially when you personalize it with your favorite figurines and decorations. Remember to take your time and pay attention to the details, ensuring that the lid is tightly sealed and the chosen figurine fits well in the jar.
Additionally, consider adding a personal touch by using a photo on the lid or decorating the outside of the jar with ribbons or spray paint. With these tips and ideas, you can create a unique snow globe that will bring joy for a long time. Happy crafting!
Plus, consider adding a few drops of glitter or sequins to the water mixture for a magical effect. You can also experiment with different jar sizes and shapes to create a variety of snow globes. Remember to have fun and let your creativity shine through in this delightful DIY project.
This was everything for our guide on how to make a snow globe without glycerin. Hopefully we’ve helped anyone interested in crafting their own globe at home. If you liked this one, check out our other guide articles too.
Merry Christmas to everyone!


